


Glamping guide
How to design a glamping resort
Land, arrival, spacing, climate and the small details guests remember.
A guest arrives after months of looking forward to the trip. There is no sign at the gate, the track is rough, the car is parked next to the tents and the neighbours' deck is a few metres away. None of that is about the tent, yet it decides the review. Good glamping design starts long before the first unit is chosen.
Start with the land
Walk the land at different times of day and, if possible, in the monsoon. Note where the sun rises and sets, where the wind comes from, where water runs and collects, and where the best views are. Some sites have patches of flood risk that must be left free of units. Mark trees and rocks worth keeping: they give privacy and character for free.
Make the arrival easy
- Safe access from the road, away from fast bends, with a clear sign at the gate.
- Parking set away from the units, so guests hear birds and not engines.
- A welcoming arrival point, lit at night, with paths that are easy to follow with luggage.
Choose units that suit the landscape
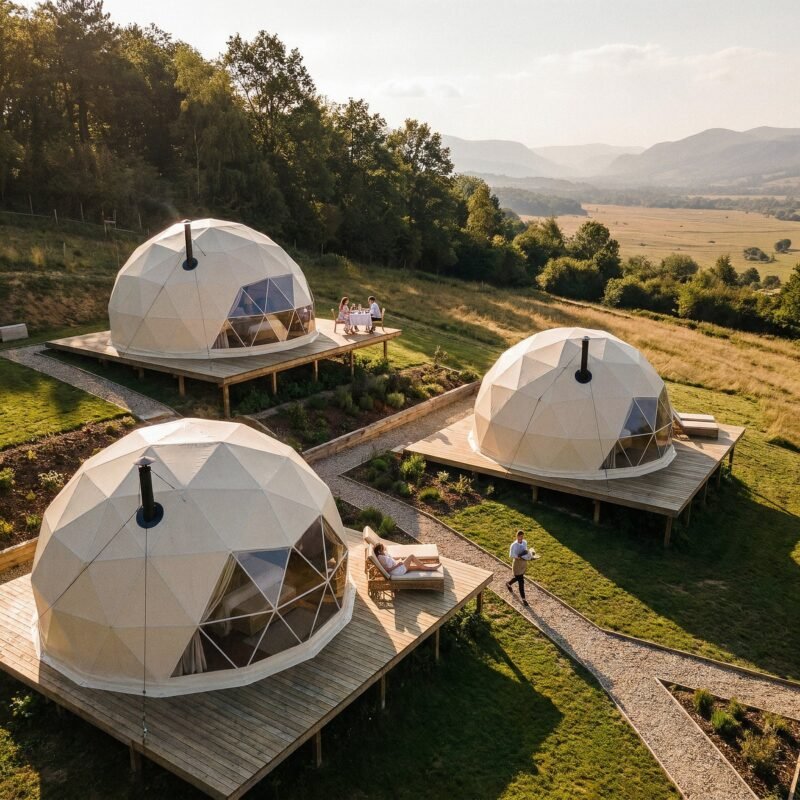
Canvas tents in natural tones sit quietly in most landscapes. Shiny metal or bright paint can look harsh. A mix of unit types, for example safari tents for families and domes or A frames for couples, gives guests a choice and lets you price units differently.

Space units for privacy
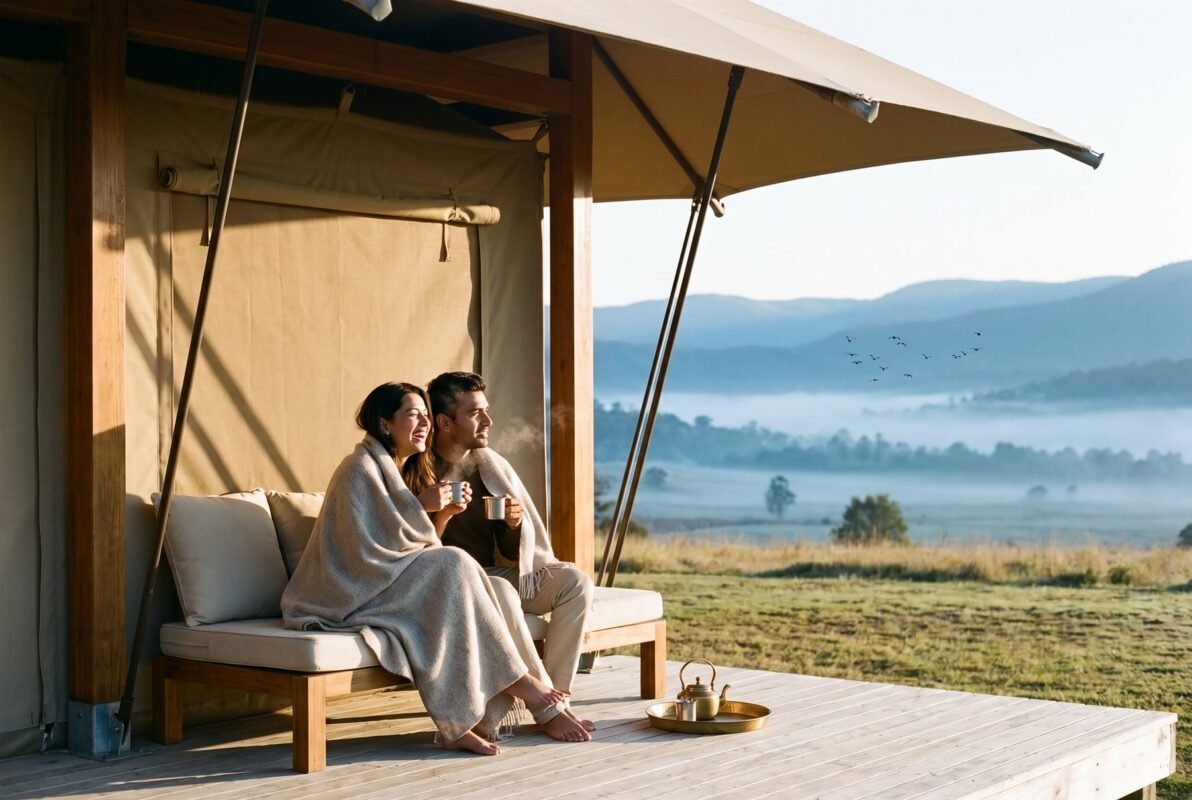
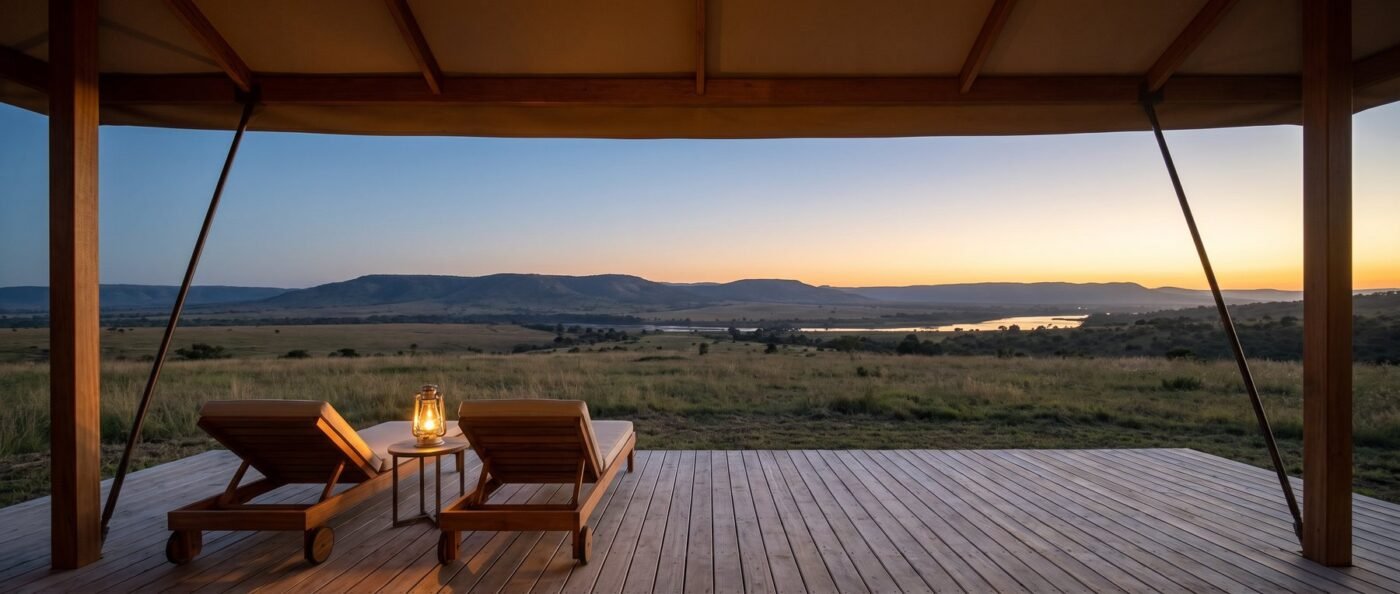
Even at simple campsites people value their own space. At a glamping site it is part of what guests pay for. Angle each unit towards the view and away from its neighbours, keep decks out of each other's sight lines, and use planting to screen paths. Fewer, better placed units often earn more than a crowded site.
Get the scale right
Local authorities look at traffic, how the site looks from outside, and the effect on trees and wildlife. Large sites need a strong case. Many owners open with a small number of units and grow, which also lets them learn what guests like before building more.
Design for the Indian climate
- Monsoon: raised decks, roofs that shed water fast, drainage around every unit, and covered paths where possible.
- Heat: shade from trees or a fly sheet, cross ventilation and, for premium units, air conditioning.
- Cold: insulated walls and floors, good seals and a safe heater.
- Insects: fine mesh on every opening and a closed floor.
Give guests something to remember
A unique feature sets a site apart and supports a higher rate: a private hot tub, a stargazing deck, an outdoor cinema, a fire pit or dining on the deck. Each one needs upkeep, so choose features that suit your guests and your team. See our add-ons for ideas.

Bring in the place
Local food, crafts, textiles and building materials make a stay feel rooted in its region. Cooking with a local family, a village walk or a performance in the evening can be the moment guests talk about most.
Use technology quietly
Online booking, good Wi-Fi in common areas, smart locks and climate control make a site easier to run and more comfortable. Some guests come to switch off, so consider tech free zones too. Our Smart Stay system is built for this.
Tread lightly
Tents and pods need lighter foundations than buildings. Add solar power, rainwater harvesting, careful waste handling and locally sourced food, and the site will appeal to guests who care about the places they visit.
Glamping guides
Keep reading
A short history of glamping
From nomad tents and royal camps to the domes and safari tents of today.
Is glamping a good business?
What it costs, what a unit can earn, and what decides whether a site pays back.
How to write a glamping business plan
Ten steps from the first idea to a plan you can take to a bank or an investor.
11 questions about starting a glamping business
Straight answers on cost, land, permissions, tents and getting guests.
Planning a glamping site?
Tell us about your land and the guests you want. We help with the units, the layout and the numbers.